Its Sunday, 8:21 pm, and I've actually finished ALL three of my final projects due tomorrow. It feels so unrealistic that its actually driving me a bit paranoid... like what if I completely missed something and suddenly remembers it in the middle of the night?
And so I will blog to ease my paranoia...
The first project I finished was my long essay for environmental science, along with bullet points for my group presentation. Second project was a VERY time-consuming and frustrating lighting and texturing assignment. Third was my character sculpt for character design course. My character design class is on Thursday, but I didn't know that the actual final was going to be on Monday. So that meant I would have three finals on the same day... and needless to say, I had a mini heart attack moment. So I sacrificed all my 9gag, facebook, youtube, and partial sleep time to make sure I can get everything done by deadline. I spent four days straight just texturing (and going to class on the days I have class), basically my schedule was something like this- sleep, eat, texture, sleep, eat, texture, sleep, eat, texture. Well, this is how I work on most of my school projects on a daily basis...along with some procrastinating (no life), but these four days were especially painful because I was having the worse neck and back pain EVER but I could not allow myself to walk away from the computer.
So anyway, I've never been more thankful for my proficient photoshop skills until I started UV texturing in PS. I've been using photoshop since I was in 7th grade, but I didn't learn to use it the professional way until a year ago. Being proficient in PS helped me work so much faster in UV texturing that I had to give myself a pat on the back. If I wasn't familiar with PS, I would have the most painfully frustrating time texturing because it required so much masking, adjusting levels, clipping masks, crazy organization, etc. etc. Im happy to say I actually really enjoyed the texturing part because I could work at ease. Whenever im working in Maya, I have this major paranoia of something not working right. This happens to me all the time...I've wasted so many hours dealing with glitches and things not working the way its supposed to. Whenever the instructor goes through it in class im like, "I got this!" ...but when I do it on my own, something goes wrong. UV texturing requires 'painting' the textures on in photoshop...very fun process if you enjoy using photoshop.
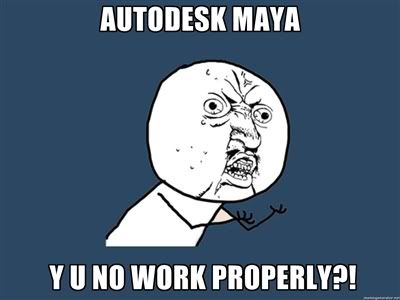
In the midst of lots of hair pulling and rock throwing at the monitor, I had to make myself a Y U NO meme to vent my frustrations.
Anywhoo.
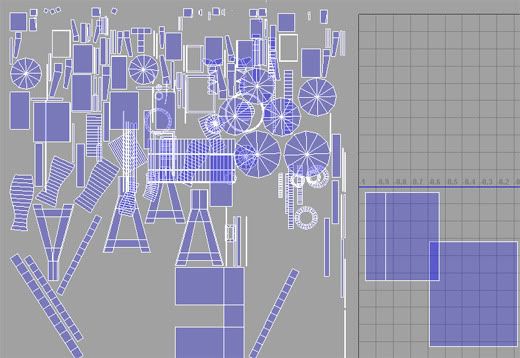
Since UV unwrapping is the first step ...here is the before picture (again)
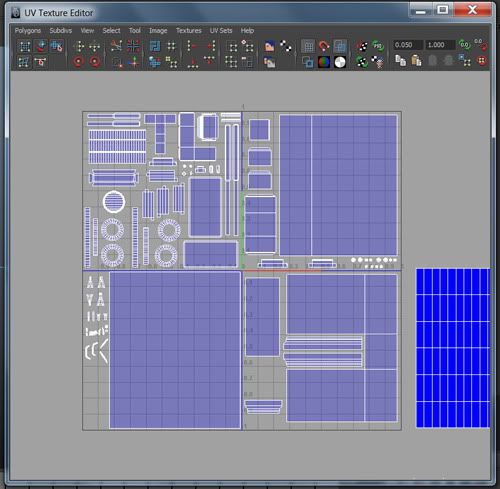
And then *drumroll*
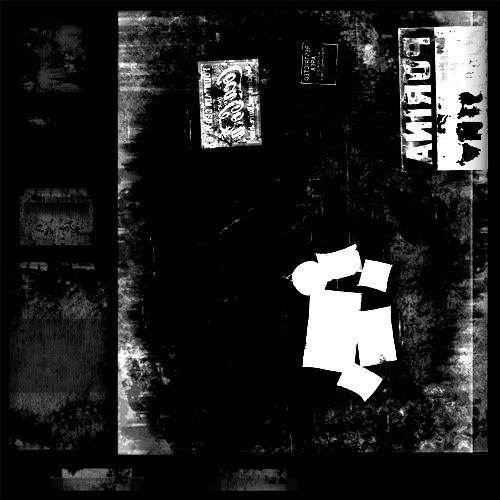
Ignore blue area. Okay, definitely not the best UV unwrap ever. I wasted quite a lot of space, but by that time I was just plain tired of UV unwrapping.
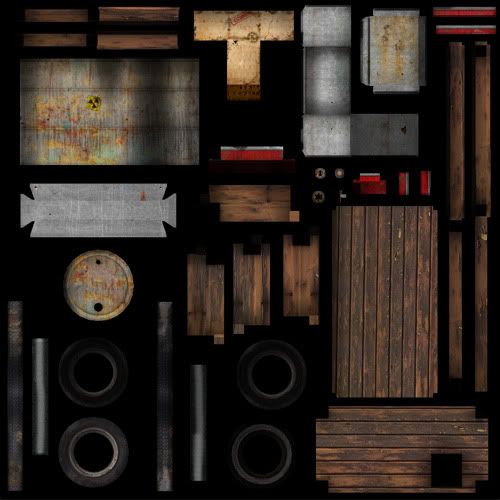
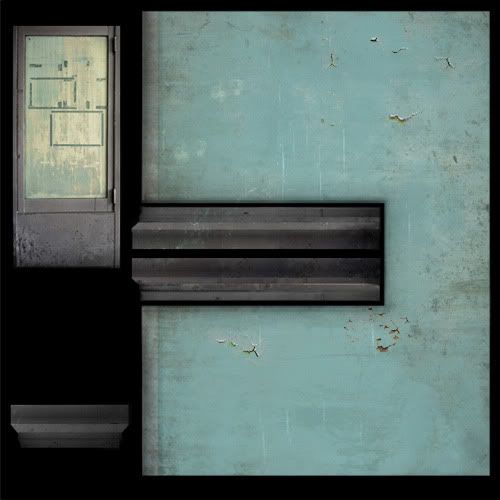
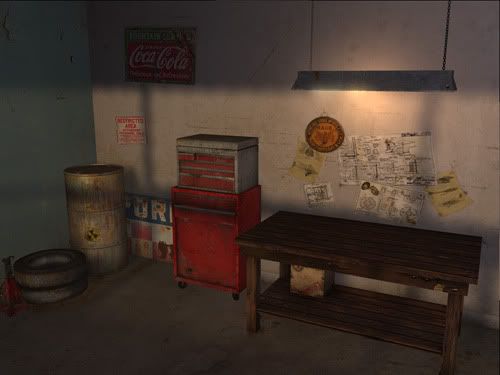
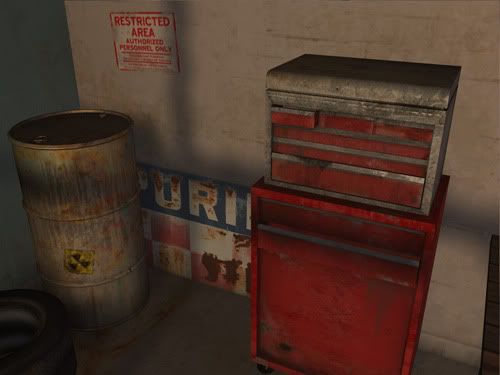
Painted UVs diffuse with ambient map! I ended up with many folders and a tonnn of layers. To be honest, I don't have the habit of naming every single one of my layers, but my instructor required every layer to be named (professionals should work this way).
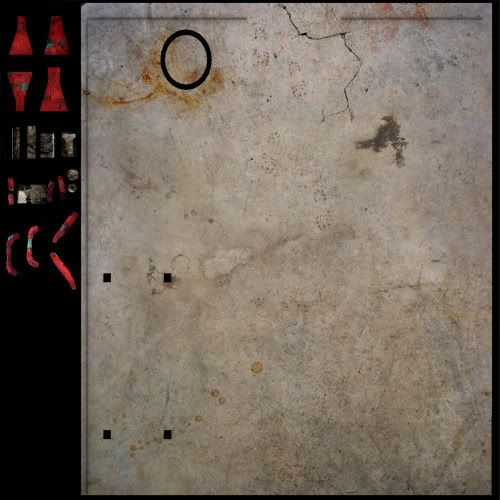
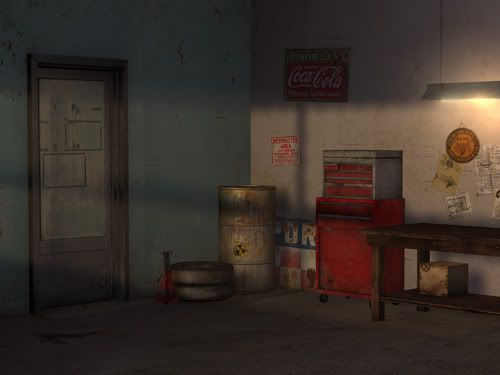
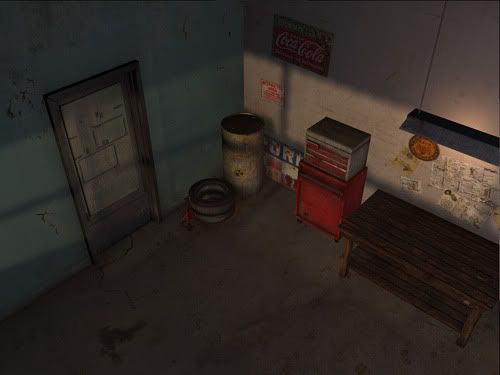
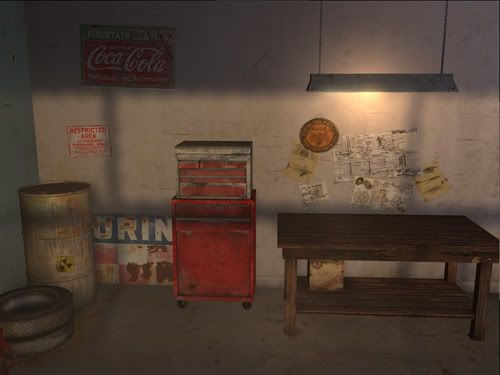
This garage floor mainly consists of texture photos i've collected from my own garage at home. Our garage floor is full of scratches, dusts, grimes ...etc. you name it.


This garage floor mainly consists of texture photos i've collected from my own garage at home. Our garage floor is full of scratches, dusts, grimes ...etc. you name it.
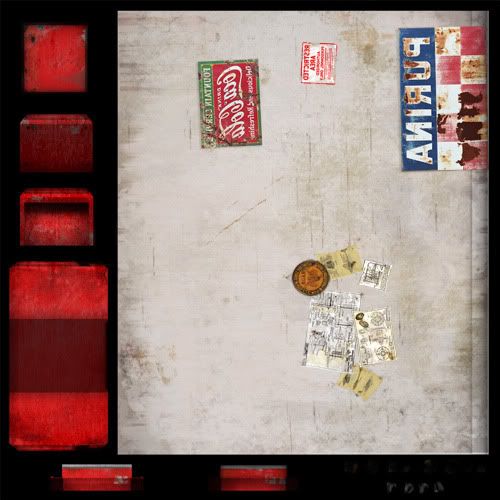
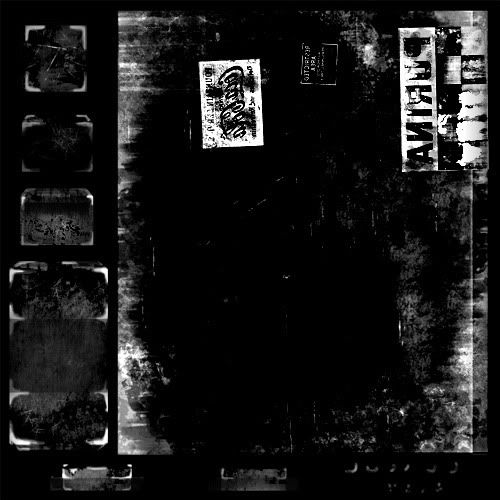
So every UV (i had a total of four sets) must include a specular, ambient, diffuse, and bump map. The specular map is basically the 'shiny' part of the object. White= shiny, black= nonshiny. Bump map basically 'bumps' the texture and makes it slightly 3d (so it sticks out), white= areas that stick out, black= areas that doesn't stick out.
I didn't really understand the difference between the specular and the diffuse until I actually worked on this project.
Im not very good with dynamic lighting, my lighting often comes out very soft for some reason. Maybe im just scared to add high contrast?
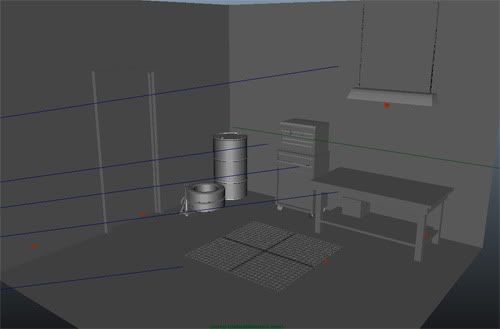
Blank model (models were given by instructor)
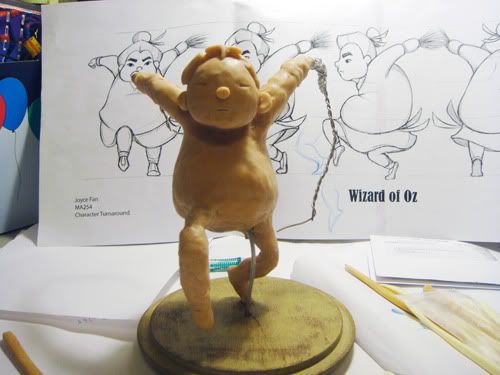
Sculpting progress
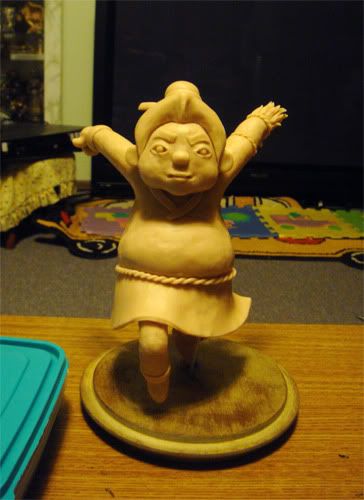
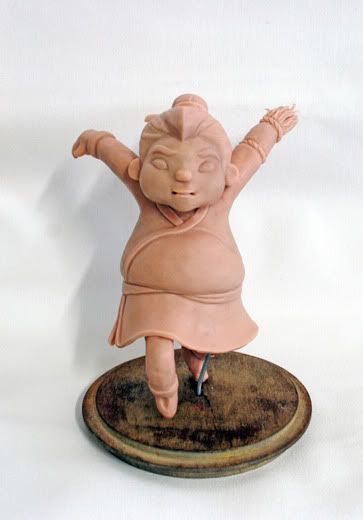
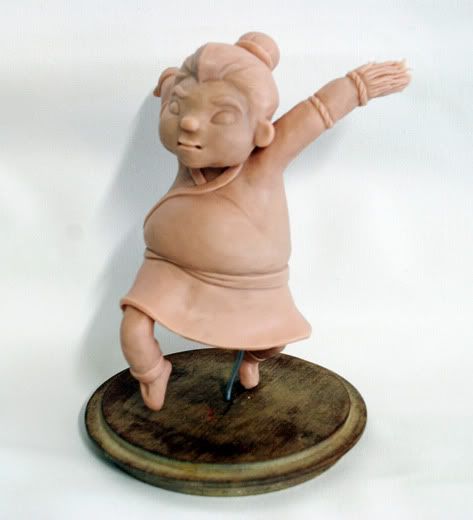
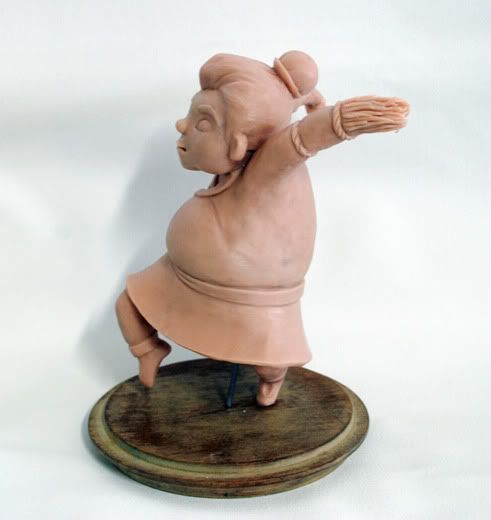
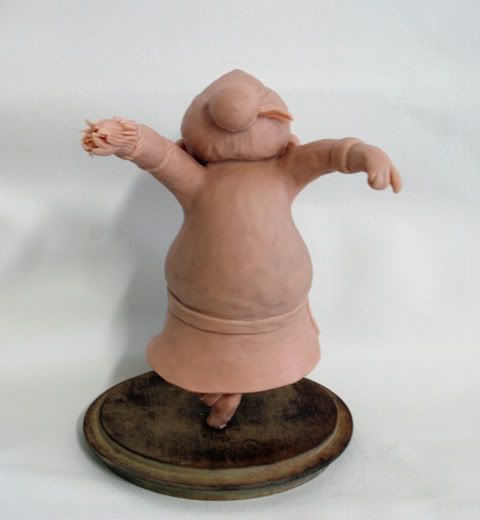
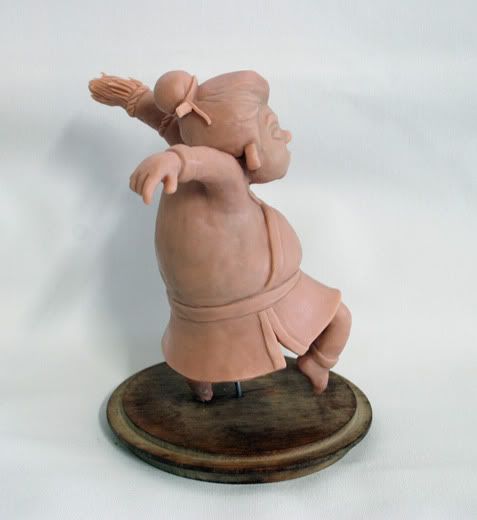
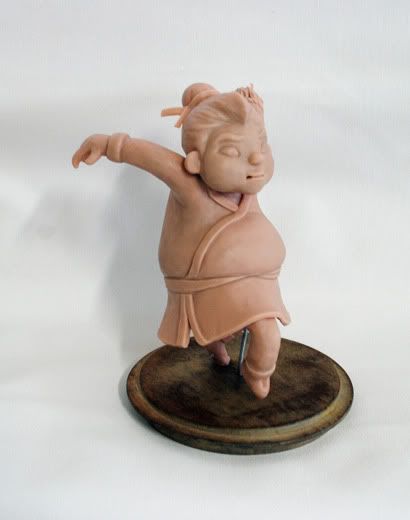
This is what I 'finished' ...but when I brought it to class, my instructor gave me a lot of amazing suggestions so I could make it look more professional.
I swear its a lot smoother in real life, I took this under very uneven lighting :( I wish I could retake these. Yeah, no eyeballs. I think I might add some later (but then i gotta retake all these pictures...If you compare this to my previous picture, the previous version might appear to be better looking. But I assure you, it is because of the lighting. The hair looks less like a wig, the cheeks are less wonky, he looks less like an old lady, the sculpture overall looks more like its sculpted than built with random pieces. I could've made it a lot smoother, but I didn't have the right kind of alcohol at home =/
This is bothering me. I think im going to retake pictures tomorrow.
360 view.
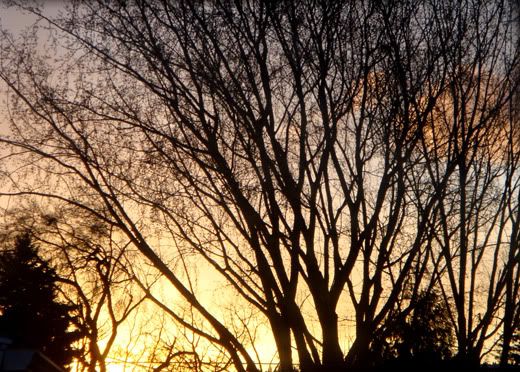
To end post. This is what I see whenever I look outside my window during sunset, I thought the pattern was beautiful so I just had to snap a photo. In fact, this tree was the inspiration for one of my paintings that won the local women's scholarship.

No comments:
Post a Comment